
here's her nails:

1. take off your old nail polish. I know, sometimes I just paint over the old too.. but for this you need to because the base color isn't that dark and the old polish will show through. I like this kind from cvs, it's cheap, it doesn't make your hands super dry, and it doesn't use a whole box of tissues or spill everywhere.

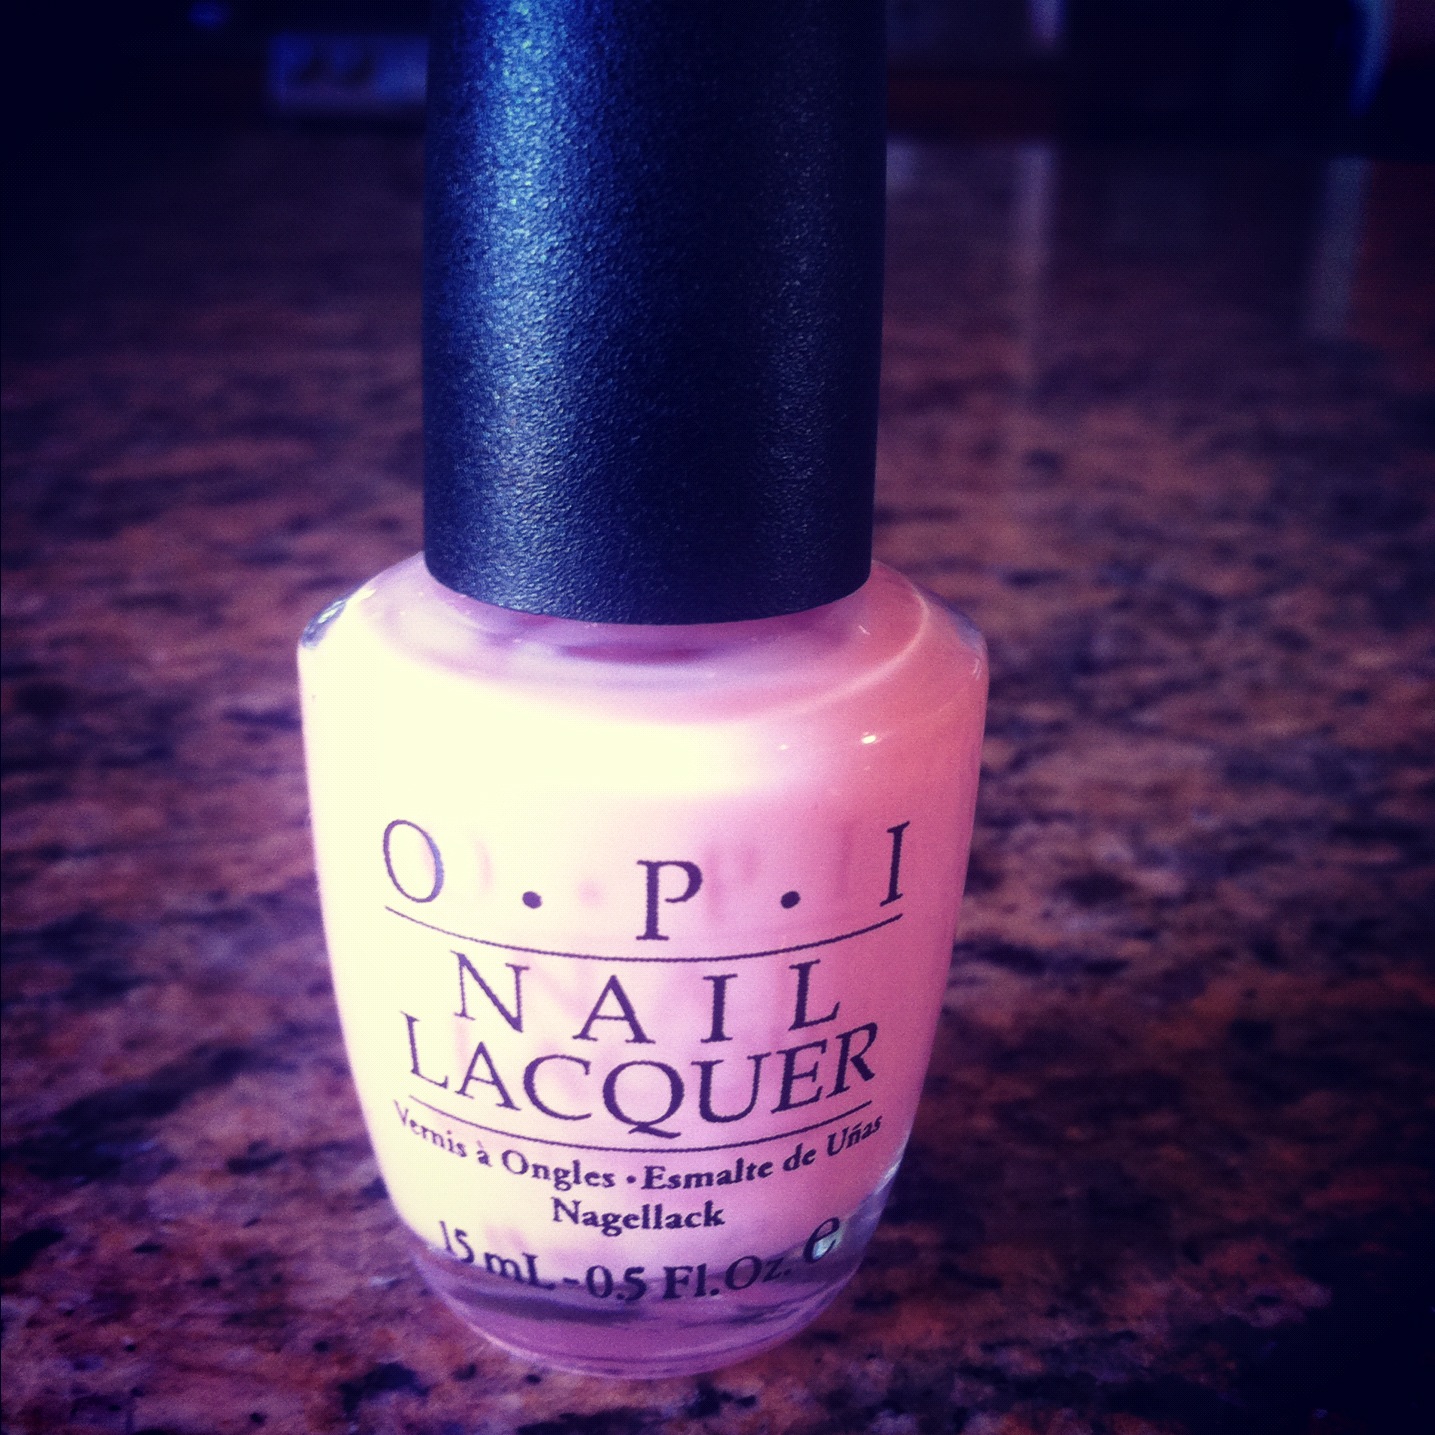
2. Paint your nails. I used this OPI color called pink-ing of you. I thought it was a little more interesting and girlier than just the plain white that zooey has! (although obviously that looked better with her dress). But for lighter colors you will want two coats AT LEAST of polish, otherwise it looks all weird and sheer.

3. Next you will want to wait for the nails to completely dry and then take an old liquid eyeliner that you have lying around, and pull the brush out, you should rinse it and then dip it in to a black nailpolish for the next part. Here's the eyeliner I used if you want an example.


byeeee
xo grace.
No comments:
Post a Comment